The abbreviation for Voice over Internet Protocol is VOIP. In simple terms, receiving help from already in place information communications networks to take forward phone calls. Those using a home PC it means making use of Internet for the purpose of telephone calls that allow the calls to be made at much cheaper rates. These phone calls can be made through the conventional phones (“hardphones”) or a PC software (“softphones”).
‘Softphone’ is where a PC is brought into the picture to make or attend a call through Internet services. Skype is a leading softphone service provider. The term ‘Softphone’ is opposite of ‘hardphones’ that happen to be the conventional phones through which Internet calls are placed. A prime example is Vonage who offers VoIP service over the hardphone.
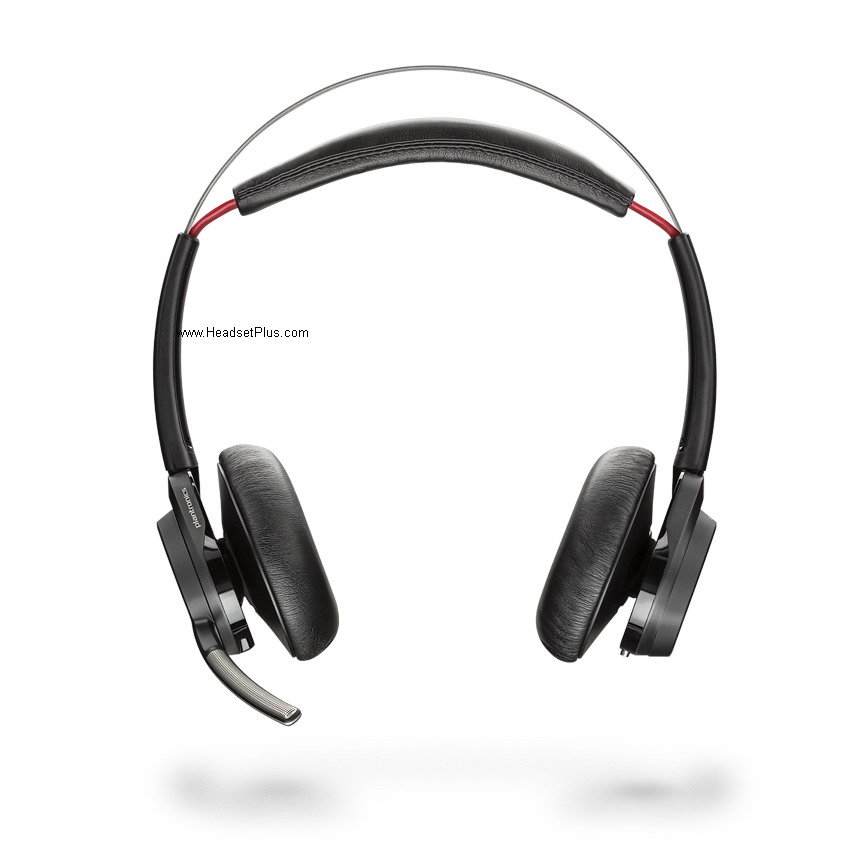
HeadsetPlus.com presents a range of USB/computer headsets that are compatible with softphones & VoIP. Headsets for Digital USB VOIP headsets, if they interest you. Or you have a liking for being wireless, visit Wireless Computer Headset > here. This segment features out highly popular Plantronics Savi W440 440 USB Wireless Headset
Listed are a few easy setup course of action & troubleshooting for owner’s of headsets of Plantronics VOIP USB :
The audio device set up in your windows should be configured properly. Attempt to use the very same USB port on each occasion you attempt to connect with the USB adapter; otherwise you might be required to redo the whole process again.
This process needs to be followed at all times. As for Voyager USB adapterthe Windows sets up device drives. Set up device drivers each time you connect the adapter with a USB port not used previously.
For Windows, Voyager USB adapter is a new sound device, like your PC treats a built-in soundcard. There could be many more sound products functioning on your PC, like a microphone for Webcam , or printer.
Once the USB adapter from Plantronics is connected, let the device drivers be completely installed. Open the control panel option; click the icon Sounds & Audio devices. Thereafter click the tab ‘Audio’ shall lead you to see the current setting for audio device.
The default recording & playback device are visible. In all of the boxes choose “Plantronics BT adapter” once done click on the Apply option. Do remember to hit the Apply Now option, thus making Voyager headset your preferred audio device upon connecting it to that particular USB port. Upon unplugging, Windows must go back to the previous set sound card.
The Voyager might be your choice for VoIP, and let the normal loudspeakers for music be used. In such a case connect USB adapter to the USB port of your choice while permitting Windows to set up drivers supposing you haven’t previously done that. Open the control panel option; click the icon Sounds & Audio devices. Thereafter click the tab ‘Audio’ shall lead you to see the current setting for recording device. In all of the boxes, pick the
sound card name that connects to the loudspeakers & hit Apply option. Thereafter the headsets from Voyager shall not be acted upon for audio except for the softphone program is particularly designed for setting up. Quite a few softphone programs, like Skype offer options to opt for a particular audio method for VoIP calling. Read the softphone manual to know how to effect such changes. 1st connect the USB adapter, next alter the audio devices offer by the softphone as being “Plantronics BT adapter”
There is helpful information that Skype provides on ways to set up audio devices, to now more click here: >http://www.skype.com/help/guides/soundsetup.html


