

























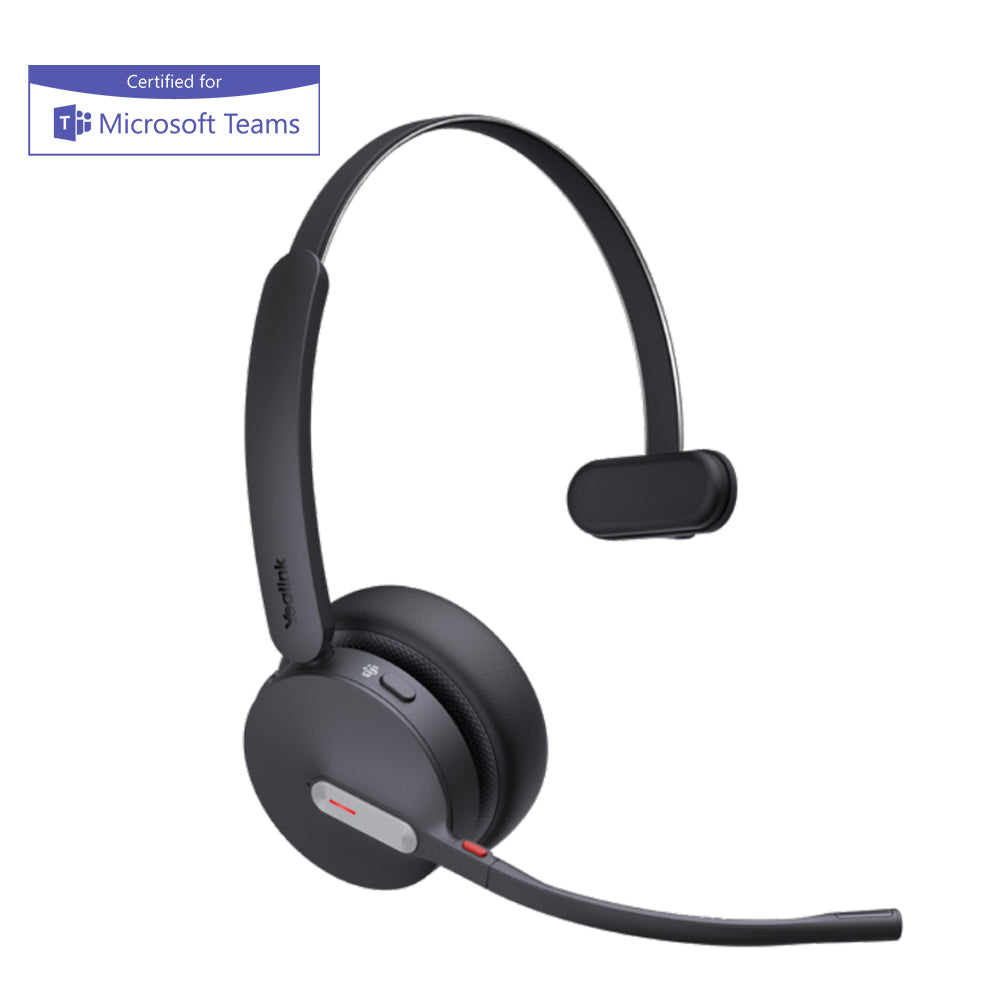


How to pair a Plantronics Bluetooth headset
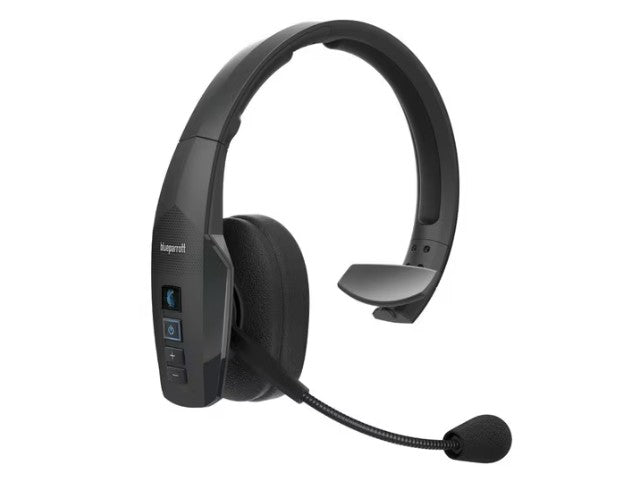
Hold the headset's Call button until the light flashes red and blue. Then open Bluetooth on your phone or computer, pick the headset from the list, and enter 0000 if it asks for a passcode. The light stops flashing once it's paired.
Older models differ on whether you start with the headset on or off, and a few use the power button instead. The table further down lists each one.
On a newer headset you'll also hear the word "pairing" when it's ready. If you're here because an old Explorer or Discovery has stopped holding a charge, a current Bluetooth headset pairs the same way.
Pairing with a phone, step by step
These steps come from Poly's own user guides for the Voyager Legend, the Voyager 5200 and the M70 and M90.
Put the headset in pairing mode
Press and hold the Call button until the lights flash red and blue and you hear "pairing." A brand-new Voyager Legend does this by itself the first time you turn it on, and on a Legend you can also press the voice button and say "Pair mode." The M70 and M90 ask you to choose a language the first time, then say "pairing."
Search from your phone
Turn on Bluetooth on your phone and let it search for new devices while the headset is still flashing red and blue.
Pick the headset from the list
Newer models show up as PLT plus the model name: the Voyager Legend appears as PLT_Legend and the Voyager 5200 as PLT V5200 Series. An older Explorer 220 shows up as 2xxPlantronics.
Enter 0000 if your phone asks
Type four zeros for the passcode, or accept the connection. Plenty of phones never ask. When you hear "pairing successful" and the lights stop flashing, you're connected.
What PLT means in your Bluetooth list
PLT is the prefix Plantronics headsets use for their Bluetooth name. If you're scrolling your phone's list looking for "Plantronics" and only see PLT_Legend or PLT V5200 Series, that's your headset. Tap it.
How to connect a Plantronics Bluetooth headset to a computer
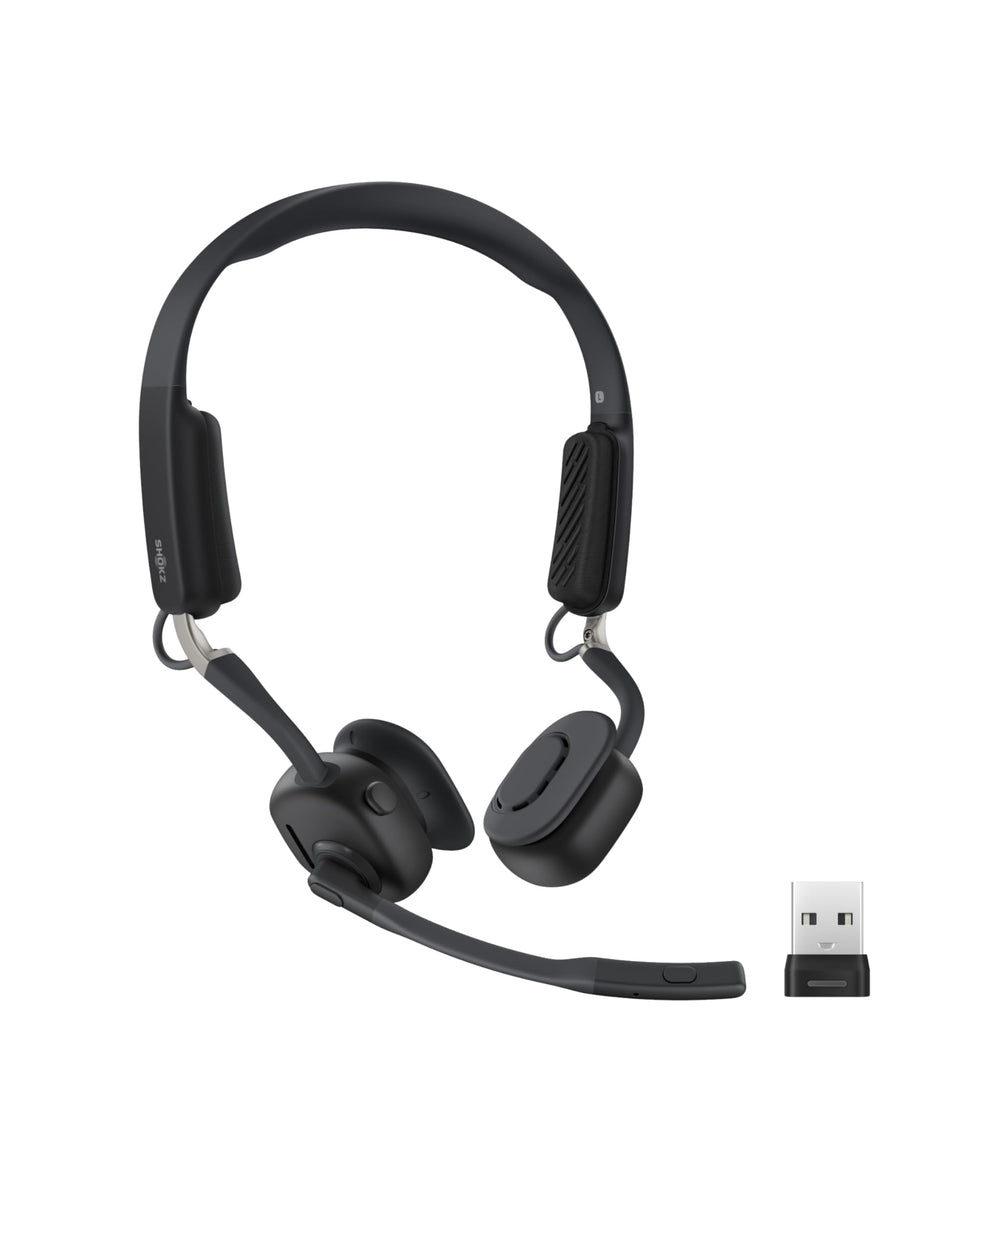
Use the USB adapter if your headset came with one. The Voyager 5200 UC ships with a Bluetooth USB adapter that's already paired to the headset, so you plug it in and wait for its light to go from flashing blue to solid blue. That's the whole setup.
If the adapter ever loses the headset, re-pair them. Hold the adapter's pair button with a pen tip until it flashes red and blue, then put the headset in pairing mode. The adapter turns solid blue once they've found each other.
Without an adapter, pair to the computer's own Bluetooth. On Windows 11, put the headset in pairing mode, click the network, sound or battery icon on the taskbar, open Manage Bluetooth devices, and pick the headset under New devices.
Then run a headset test before your first call. Paired straight to a computer, many Bluetooth headsets switch to a phone-quality mode as soon as the mic opens, and the test shows whether yours is sending HD voice or phone quality.
Adding a second phone
Put the headset back in pairing mode and repeat the phone steps on the new phone. On the M70 and M90, hold Call until the light flashes red and blue and you hear "pairing, please select a different language," then pick the headset on the new phone.
The Voyager Legend stays connected to two phones at once. To take a call on the second phone, end the first call or send it back to the first phone.
The Voyager 5200 remembers up to eight devices but keeps only two connected at a time, and its USB adapter counts as one of the two. With the adapter plugged in, that leaves room for one phone.
Older Plantronics models: which button, on or off
Every older Plantronics headset signals pairing mode with the same red-and-blue flash, but they get there differently. Find yours below, then pair from the phone as above.
| Models | Start with the headset | What to hold |
|---|---|---|
| Explorer 220, 230, 320, 330, 340, 350, 360, 370, 380, 390; Voyager 520, 815, 835, 855; Discovery 610, 640, 645, 655, 665, 925, 975; K100 | Off | Call control button, 6 to 10 seconds. It flashes blue first; keep holding until it flashes red and blue. |
| Explorer 210, 240, 242, 243, 245, 395; M100; M1100 | On | Call control button, 5 to 6 seconds, until it flashes red and blue. |
| Voyager Pro, Voyager Pro+; BackBeat 903, 903+ | Off | Power button, 5 to 6 seconds, until it flashes red and blue. |
| Voyager 510 | On | Call control and volume up together, until it flashes red then blue. |
| Pulsar 590, 590e, 590A | Off | Call control while you power it on, until it flashes red and blue. It flashes blue once paired. |
| Pulsar 260 | On (pendant) | Mute/play and power together, until it flashes red and blue. Pick "260 Plantronics" on the phone. |
| M2500 | On | Call control while turning the dial upward, until it flashes red then green. |
Two models don't use 0000. The M1000 and M1500 have their own PIN printed on the circuit board under the battery. Take off the battery cover and the battery, and look for a letter followed by four numbers. The four numbers are the passcode.
The Pulsar 590 with its Universal Adapter needs the adapter paired too. Pair the headset first, then hold the adapter's pairing button 7 to 10 seconds until it flashes red and blue. Both flash blue once they're linked.
For the M1500 with the A500 adapter, turn the headset on and the adapter off. Hold the headset's mute/volume dial until its light flashes, then hold the adapter's blue power button about 10 seconds until it flashes red. A tone and both lights going dark means it worked.
If it still won't pair
- Watch the light. Flashing blue alone isn't pairing mode on most models. Keep holding the button until it alternates red and blue.
- Search from the phone while the headset is still flashing. If the flashing has stopped, start pairing mode again.
- On a Voyager 5200, count its connections. It holds two at a time, so if it's already on a phone and the USB adapter, turn Bluetooth off on one of them before pairing a third device.
Comments (0)